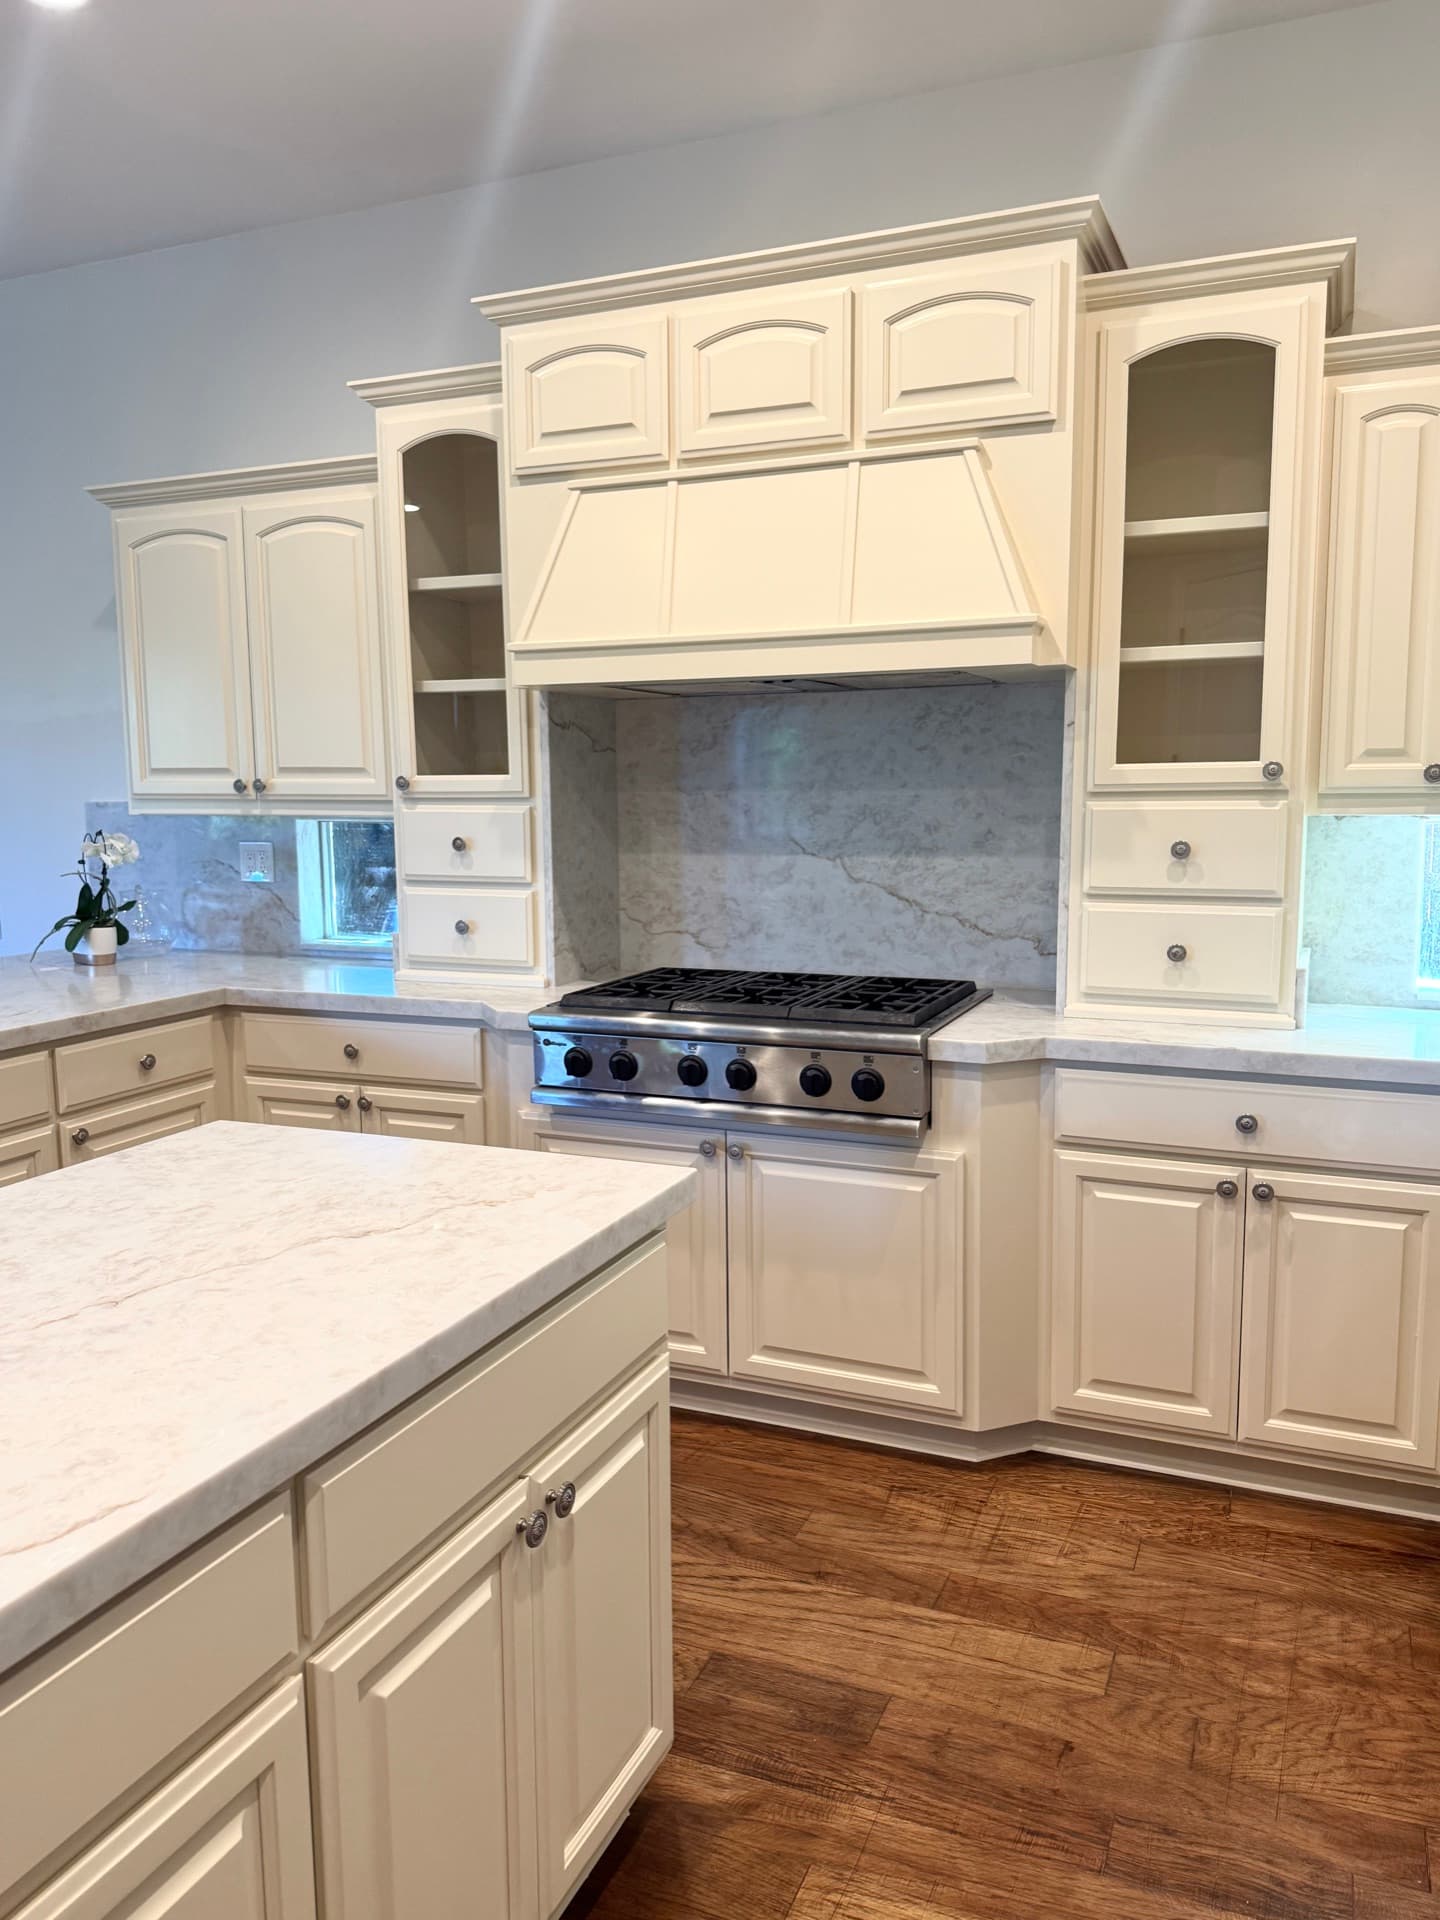
Kitchen Backsplash Ideas & Installation in Sacramento
A backsplash transforms a kitchen from ordinary to extraordinary — it's the design element that ties your cabinets, countertops, and appliances together. Future Generation Construction installs backsplashes in every style, from classic subway tile to contemporary glass mosaics.
We handle the complete process: surface preparation, layout planning with dry-fit, precision tile cutting, grouting, and sealing. Our attention to detail shows in perfectly aligned grout lines and seamless corner transitions.
For Sacramento homeowners updating kitchens from the 1990s-2000s, a new backsplash combined with cabinet refacing can completely transform your kitchen without the cost of a full remodel.
Options & Features
Subway Tile
Timeless 3×6 ceramic in white, gray, or color. Classic herringbone and stack patterns.
Mosaic
Glass, stone, or mixed-media mosaics for unique visual impact.
Natural Stone
Marble, travertine, slate — natural beauty behind your stove.
Large Format
12×24 or larger tiles for a modern, minimal-grout look.
Special Offer
Get Up To
$2,500 OFF
Your Remodeling Project!
Transform Your Home for Less!
Save up to $2,500 on your kitchen, bathroom, or ADU remodeling project.
- Licensed & Insured
- 5-Star Rated
- Local Sacramento Team

Get Your Free Estimate
Schedule a free in-home consultation to discuss your project.
- Transparent, fixed-price quotes
- Licensed (#1119373), bonded & insured
- Financing options available
- 30+ years combined experience
Whether you're planning a single-room refresh or a complete home transformation, we'll walk you through every detail — design ideas, material selection, permits, and timeline — so you can move forward with total confidence. Most homeowners hear back from us within 24 hours, often the same business day.
Our Work
Kitchen Remodel Projects We're Proud Of
A small selection of kitchen remodel projects completed by Future Generation Construction across the Greater Sacramento area.
Featured Project
Anthony & Ambrosia's Kitchen Remodel
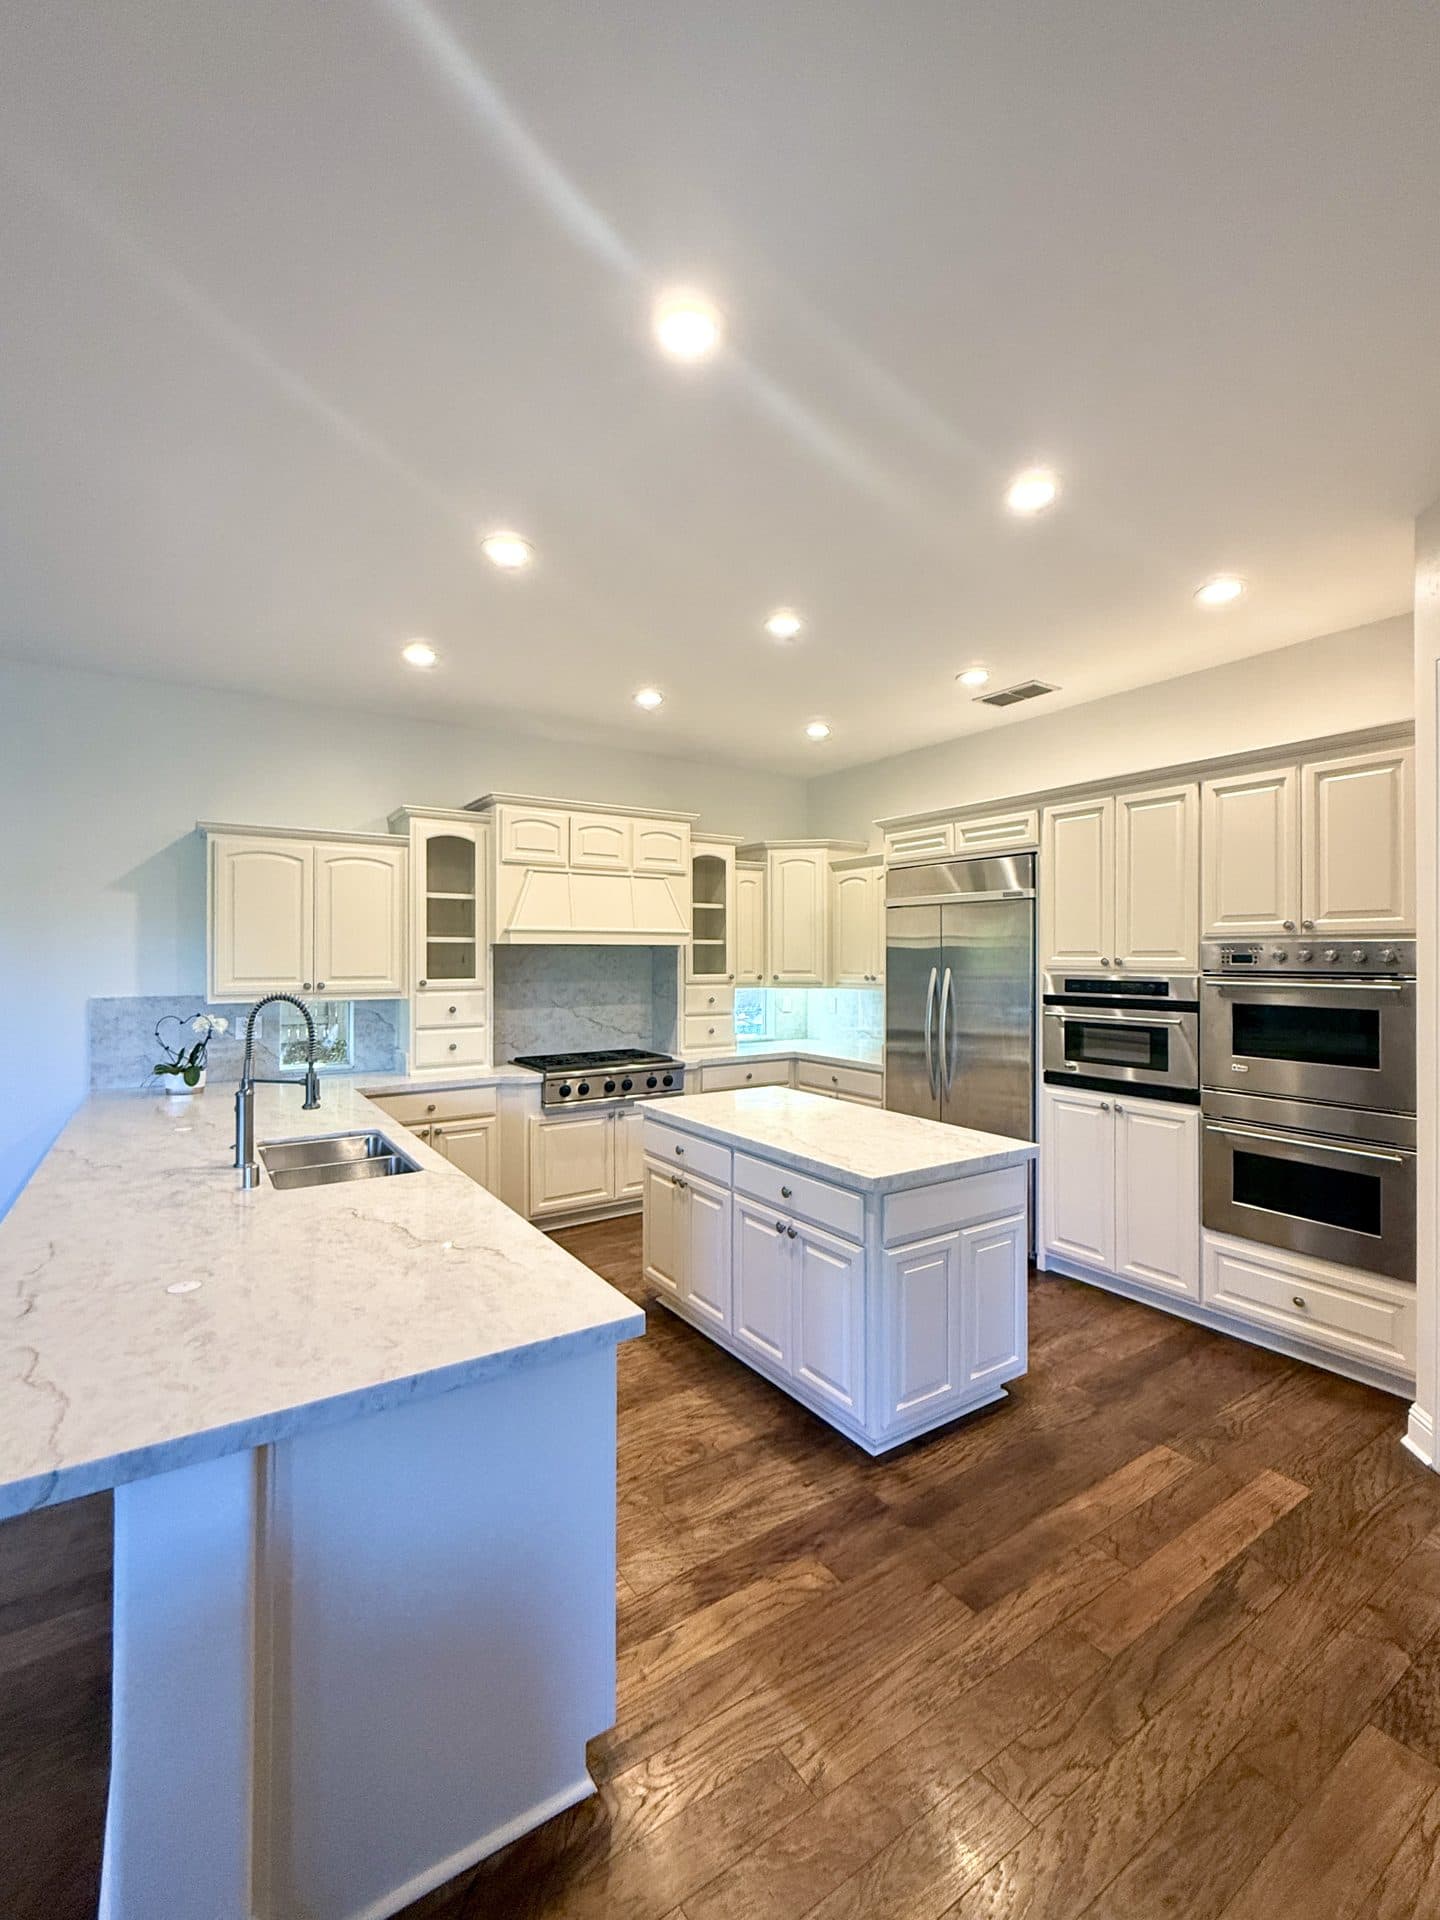
A stunning kitchen remodel for Anthony and Ambrosia in Fair Oaks, featuring modern cabinets, quality countertops, and updated appliances.
- Custom Cabinetry
- Quartz Countertops
- Full Layout Redesign
- Completed in 5 Weeks
Paul and his team made the entire kitchen renovation completely stress-free. From design through the final walk-through, every detail was handled with care — and the finished space exceeded what we dreamed up.
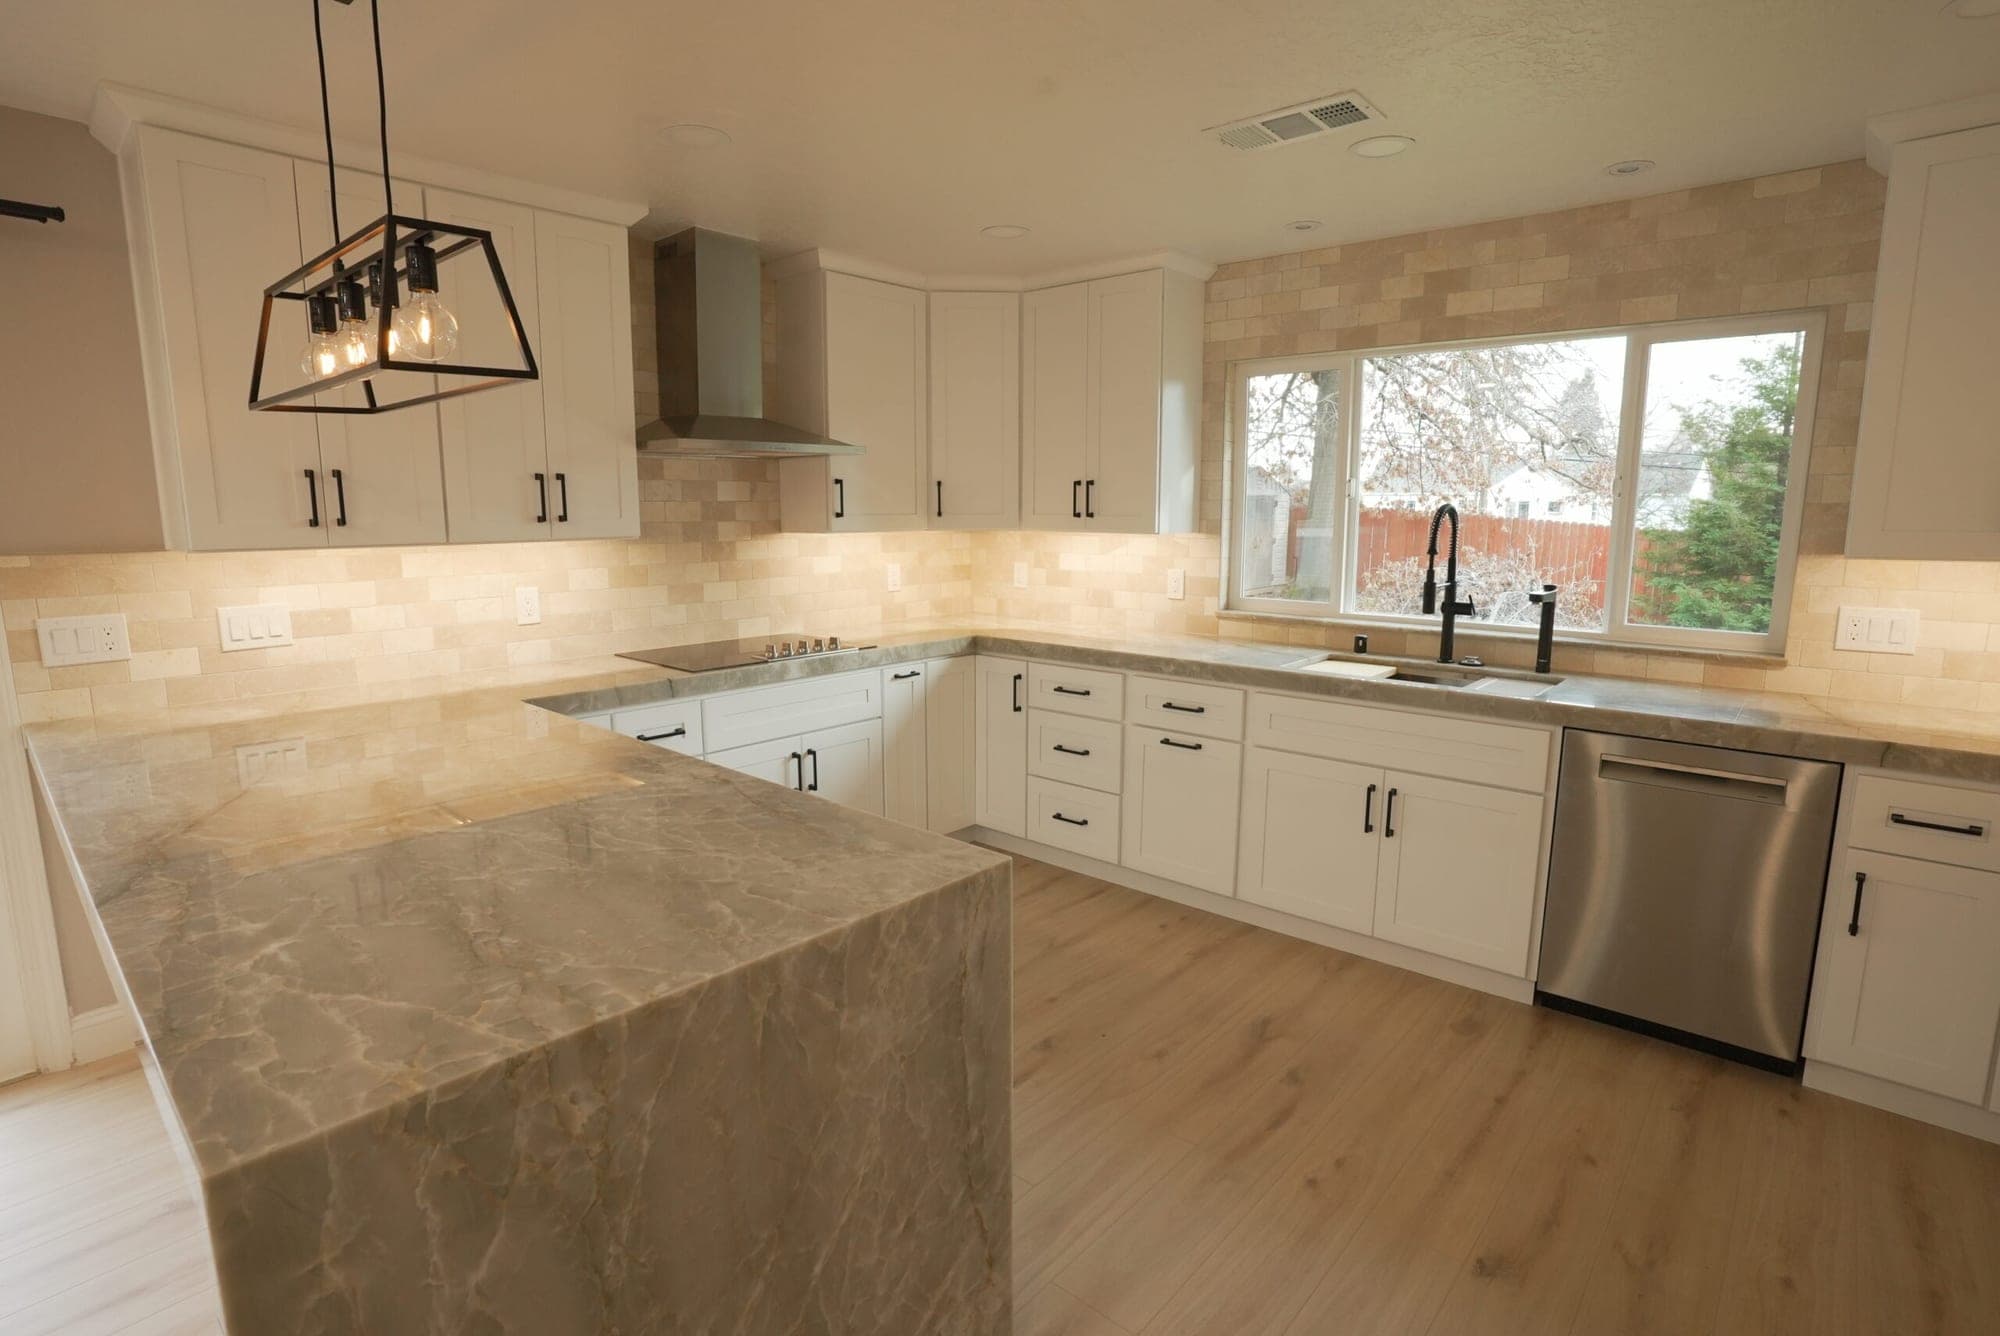 Fair Oaks, CA
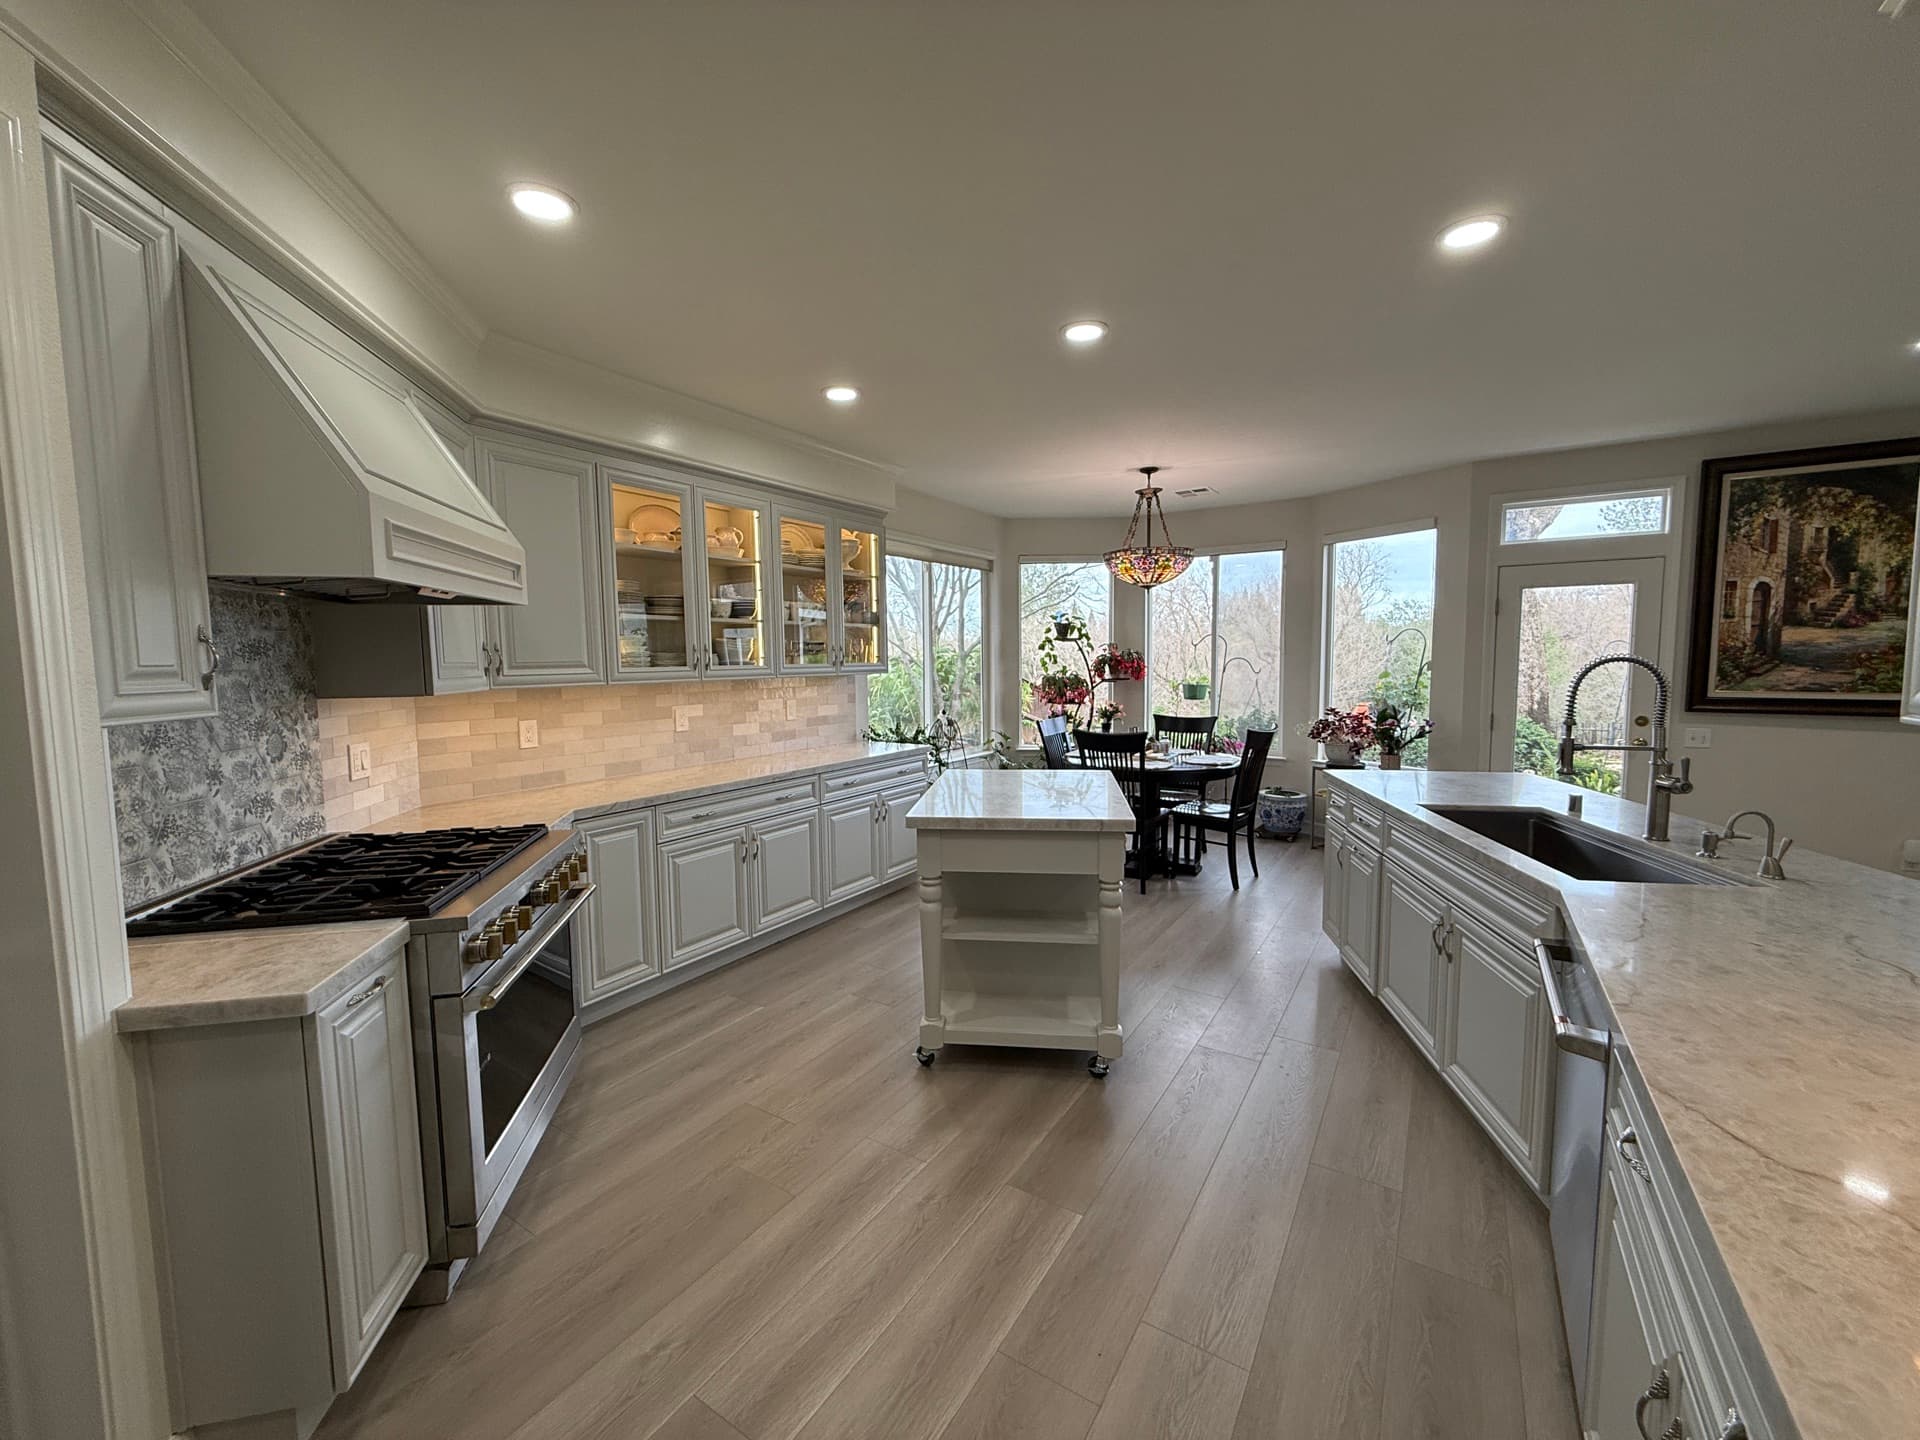 Kitchen Remodel
Granite Bay Kitchen Remodel
Granite Bay, CA
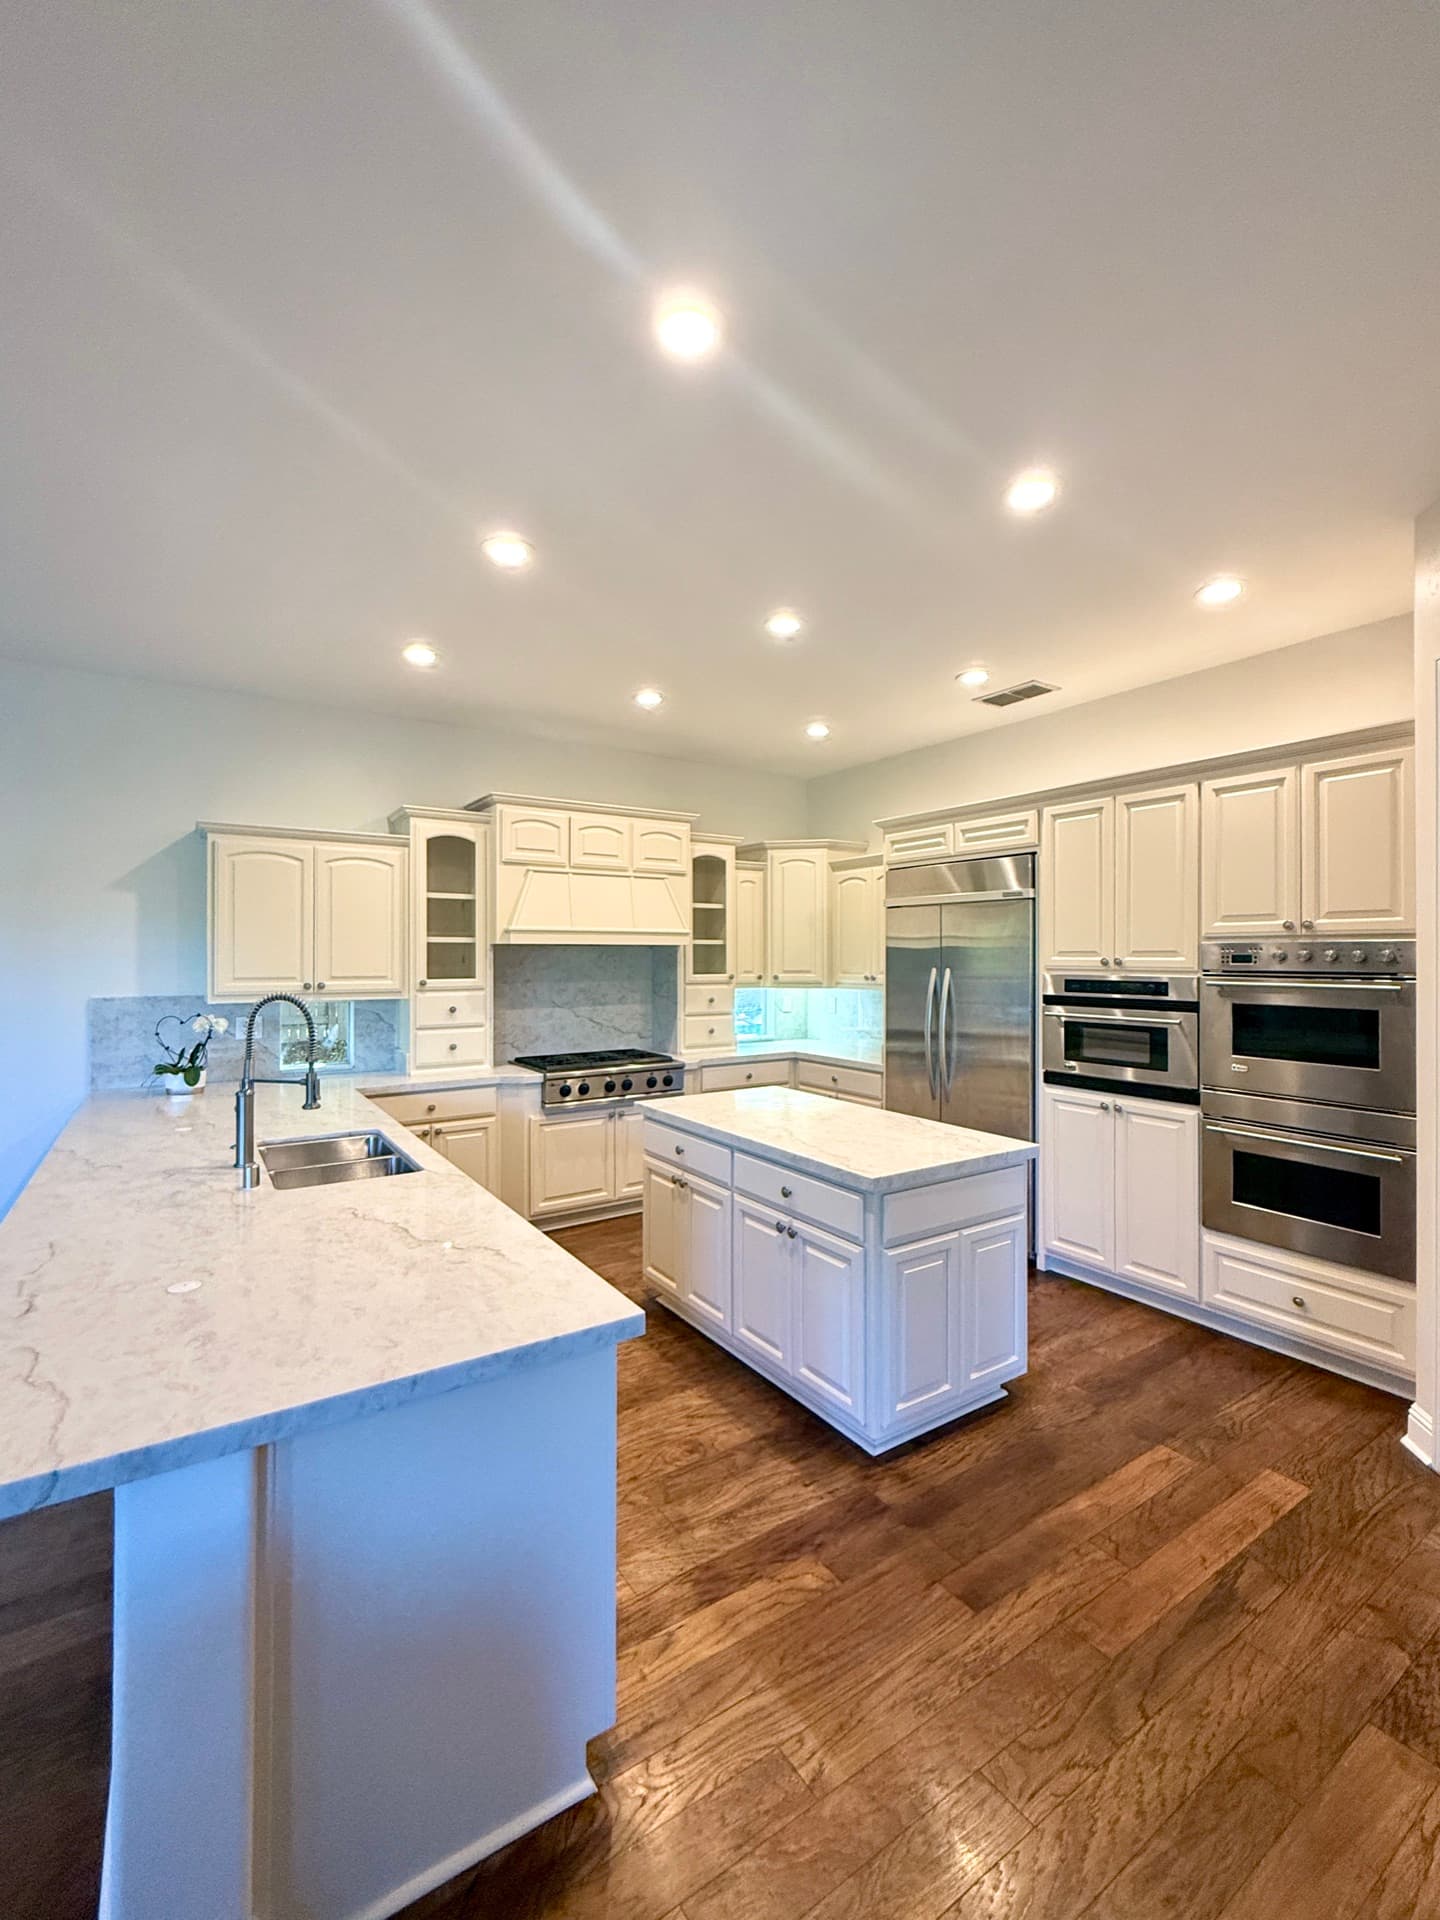 Kitchen Remodel
El Dorado Hills Kitchen Remodel
El Dorado Hills, CA
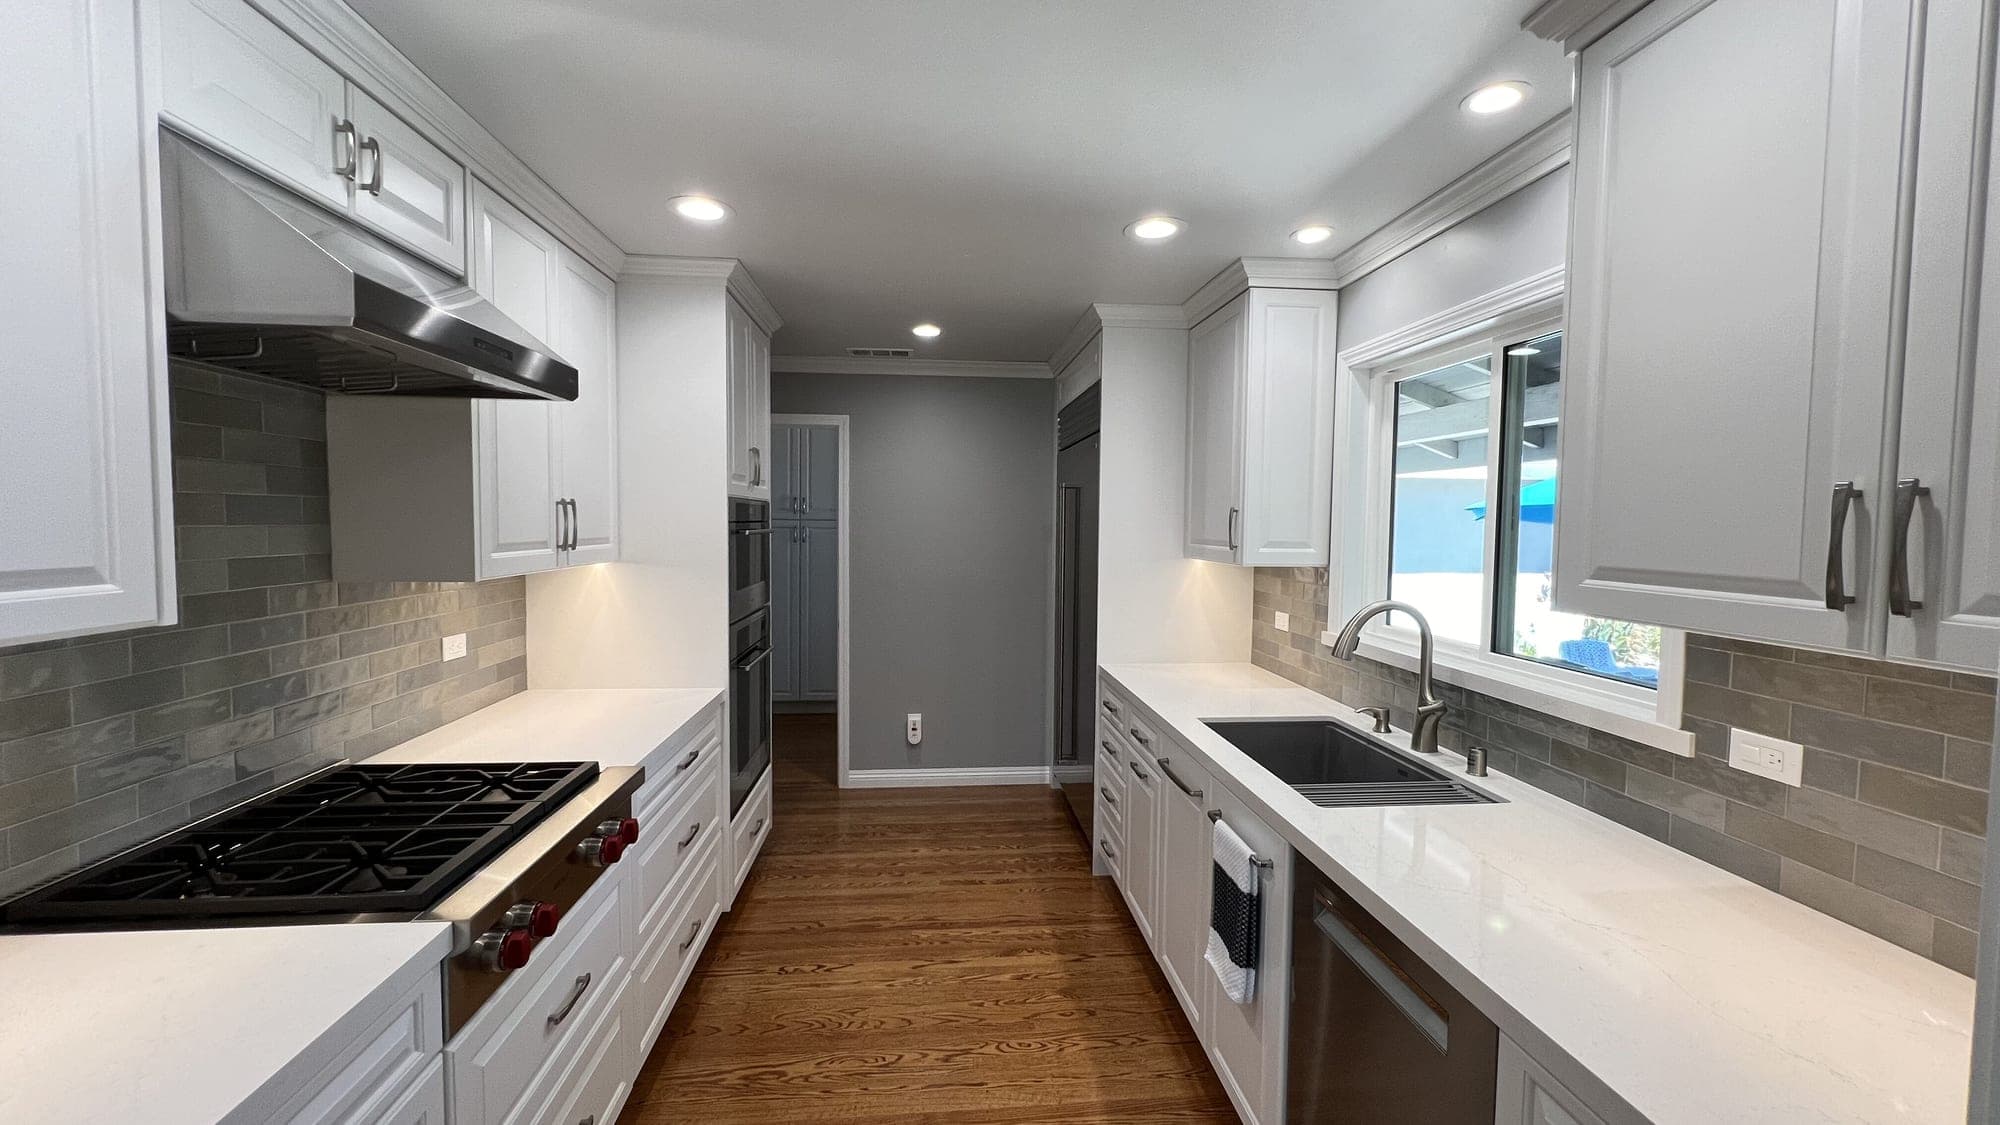 Kitchen Remodel
Patrick's Kitchen Remodel in Sacramento
Sacramento, CA
Britney & Michael's Kitchen Remodel
Sacramento, CA
100+
Projects Completed
5.0★
120 Verified Reviews
30+
Years Combined Experience
#1119373
Licensed & Insured
Client Testimonials
What Our Clients Say
Real stories from real homeowners across the Sacramento area.

Follow our latest projects
Service Areas
Proudly Serving the Greater Sacramento Area
The Backsplash That Pulls Your Whole Kitchen Together
Cabinets and countertops are the biggest budget items in a kitchen remodel. The backsplash is what makes them feel like a coordinated design rather than two unrelated decisions. Future Generation Construction has installed thousands of square feet of kitchen backsplash across Sacramento, from classic 3×6 white subway tile in starter homes to dramatic full-height book-matched marble slabs in Granite Bay custom kitchens.
This page walks you through the styles we install most, the technical details that separate a 5-year backsplash from a 25-year backsplash, and what to expect from our process.
Backsplash Styles We Install Most Often
Subway Tile
3×6 (or 4×8, or 4×16 for the modern oversized variant) ceramic or porcelain rectangles in white, gray, or color. The single most popular backsplash in America for the last 15 years and still going strong. Patterns we install: running bond (offset by half), 1/3 offset (more contemporary), vertical stack (modern and clean), herringbone (premium, requires careful layout), and basketweave (traditional).
Mosaic
Small tiles (typically 1×1 or 1×2) mounted on mesh sheets for fast installation. Glass mosaics offer the most color saturation and shimmer; stone mosaics offer organic earth tones; mixed-media mosaics combine glass, stone, and metal for high-impact accent walls. Best used as a focal accent (behind the range, on a single wall) rather than as the entire backsplash, because the visual energy can overwhelm.
Natural Stone Slab and Tile
Marble (Calacatta, Carrara), travertine, slate, limestone. The luxury choice — and increasingly we see homeowners specify full-height stone slab backsplash rather than a 4" countertop return plus tile. Slab is dramatic, seamless, and easier to clean than grouted tile. The trade-off is cost and the maintenance commitment of natural stone (sealing every 1–3 years).
Large-Format Porcelain
24×48 or larger porcelain panels, often with a stone-look or marble-look print. The seam-light option that splits the difference between traditional grouted tile and a full slab — significantly less expensive than real stone, far less grout to clean than 3×6 subway.
Glass
Solid sheets of tempered colored glass mounted to the wall behind the range. Zero grout, easiest cleaning of any backsplash, and the most contemporary look. Works particularly well with handle-less slab-door cabinets.
Pattern Layout — The Detail That Reads as Craftsmanship
Two installers can take the same box of tile and produce wildly different results. Here is what separates a careful layout from a hurried one:
- Center line. Every backsplash gets a centerline laid out before any tile goes up. The layout starts from the most visible wall (typically behind the range) and works outward, so cuts fall at the edges where they are least noticed.
- Outlet planning. Outlets and switches are integrated into the tile pattern — we never let a half-tile cut land on a switchplate edge.
- Range-hood symmetry. The tile pattern centers under the range hood, regardless of where the cabinets above it land.
- Corner treatment. Inside corners use a soft-caulk joint that flexes with seasonal movement. Outside corners use bullnose, mitered tile, or Schluter metal trim — never raw cut edges.
- Grout line consistency. Every grout line is the same width, achieved with cross-spacers and back-buttering on irregular tile.
Grout — Choose Wisely, You Live with It Daily
Grout is the unsung hero (or villain) of every tile backsplash. The wrong grout choice ages the kitchen 10 years overnight. Three categories:
- Sanded cement grout. The traditional choice, used for joints 1/8"+. Stains over time without sealing. Affordable and easy to repair.
- Unsanded cement grout. For joints under 1/8". Thinner mix, smoother finish.
- Epoxy grout (Spectralock, Mapei Kerapoxy). Stain-proof, never needs sealing, slightly tricky to install. Our default for high-traffic kitchens because it stays looking new for the life of the tile. Costs about $250–$400 more for a typical kitchen but the long-term value is significant.
Pairing Backsplash with Counters and Cabinets
The right backsplash echoes the visual rhythm of the room without competing with it. A few rules of thumb:
- If your countertops have dramatic veining, pick a quieter backsplash (subway tile, solid color glass).
- If your countertops are a solid color, the backsplash can carry the visual interest (marble mosaic, dramatic slab).
- White or light cabinets pair beautifully with almost any backsplash.
- Dark cabinets need lighter backsplash to keep the kitchen from feeling closed-in — unless you are intentionally going for a dramatic, moody design.
- Custom Kitchen Cabinets — explore the full range of options inside this service category.
- Quartz & Granite Countertops — explore the full range of options inside this service category.
- Kitchen Flooring — explore the full range of options inside this service category.
- Custom Kitchen Islands — explore the full range of options inside this service category.
Recent Backsplash Projects
- Granite Bay Kitchen Remodel — full-height New Taj Quartz backsplash matched to the countertops.
- El Dorado Hills Kitchen Remodel — coordinated quartz countertop and backsplash combination.
- Farmhouse Kitchen Renovation — classic subway with character grout for a warm rustic-modern aesthetic.
Backsplash Cost Expectations in Sacramento (2025–2026)
- Standard 3×6 subway tile, 30 sq ft typical: $1,400 – $2,800 installed.
- Mosaic tile, 30 sq ft: $1,800 – $3,500.
- Large-format porcelain, 30 sq ft: $2,000 – $4,000.
- Marble or natural stone tile: $2,400 – $4,800.
- Full-height slab backsplash (matching counter): +$1,500 – $3,500 over the countertop quote.
- Epoxy grout upgrade: +$250 – $400.
Service Areas
- Remodeling in Citrus Heights
- Remodeling in Sacramento
- Remodeling in Roseville
- Remodeling in Folsom
- Remodeling in Fair Oaks
- Remodeling in Carmichael
- Remodeling in Orangevale
- Remodeling in Rancho Cordova
- Remodeling in Granite Bay
- Remodeling in Rocklin
- Remodeling in El Dorado Hills
- Remodeling in Elk Grove
- Remodeling in Lincoln
- Remodeling in Loomis
Frequently Asked Questions
How long does backsplash installation take?
Standard subway tile in a 30 sq ft area: 1 day install, 1 day grout cure, 1 day sealer (if cement grout). Total 3 days. Complex patterns or natural stone add 1–2 days.
Can I install a backsplash without disrupting the kitchen?
Yes — backsplash work is one of the least disruptive remodel tasks. Counter and sink remain functional throughout. Plan to mask off the countertops with painter's tape and ram board for 3–4 days.
Do you handle outlet relocation?
Yes. Outlet locations are reviewed against the tile layout during the planning meeting. If an outlet is poorly placed for the new layout, our electrician can relocate it before tile starts.
What's the easiest backsplash to clean?
Glass slab (no grout) or porcelain large-format with epoxy grout. Both wipe clean with a soft cloth and are immune to grease.
Do I need a sealer on porcelain or ceramic tile?
The tile itself is sealed during firing — no additional sealer needed. The grout, however, benefits from a penetrating sealer (Aqua Mix Sealer's Choice or 511 Impregnator) every 2–3 years if you used cement grout. Epoxy grout never needs sealing.
Should the backsplash run all the way to the upper cabinets?
That is the standard installation — backsplash from countertop up to the bottom of the upper cabinets, plus behind the range to the underside of the hood. Some contemporary designs extend backsplash up to the ceiling around windows for a unified look. We will discuss your preference at the design meeting.
What Sets Future Generation Construction Apart on kitchen backsplash Projects
The Sacramento remodeling market has dozens of contractors who can technically install kitchen backsplash — the question that matters for you as a homeowner is which contractor will still be returning your calls in year three when something needs adjustment. Here is what we believe makes our team the right partner for your kitchen backsplash project, and how to evaluate any contractor (including us) against the same standard.
Single Project Manager, Beginning to End
Many remodeling firms hand you off between salespeople, designers, schedulers, and superintendents. By the time you have a question about your kitchen backsplash project, you have already spoken with four people who don't have your project file open. We assign a single project manager from the day you sign the contract through the final walkthrough and the one-year warranty period. One name, one phone number, one inbox.
Transparent Fixed-Price Contracts
Every kitchen backsplash quote we deliver is line-item itemized — you see exactly what you are paying for in materials, labor, permits, and contingencies. The contract is fixed-price for the agreed scope. Change orders only happen when you request a scope change; we don't surprise you with "found conditions" line items at the end.
In-House Tradespeople
kitchen backsplash touches plumbing, electrical, framing, drywall, flooring, and finish carpentry — five separate trade specialties. We employ all five in-house rather than subcontracting individually. The result: faster turnaround, no scheduling gaps where one trade waits on another, and one company accountable when the kitchen / bathroom / ADU comes back online.
Documented Quality Control Process
Every kitchen backsplash install runs through a four-stage QC checklist: rough-in inspection (after demo and before tile/drywall), substrate inspection (before finish surfaces go down), pre-final walk (with the homeowner), and post-final adjustment (anything you flag in the first 90 days is fixed under warranty). The checklist is a written document; we share it with you at the start.
Real Insurance, Real License
We are licensed by the California Contractors State License Board (#1119373), fully bonded, and insured for general liability and workers' compensation. Both certificates are in your project folder before any demo starts. Any contractor offering a kitchen backsplash bid without these credentials is asking you to take on their risk.
Common kitchen backsplash Mistakes — and How We Avoid Them
- Cutting corners on substrate prep. The fastest way to destroy a beautiful kitchen backsplash install is to fasten finishes over a substrate that wasn't measured, leveled, and dried first. We never skip the prep stage even when the homeowner is impatient to see the finished result.
- Skipping permits to "save time." Unpermitted kitchen backsplash work often surfaces during a future home sale and tanks the deal. The 4–8 weeks of permit time is an investment, not a tax. We pull permits on every kitchen backsplash project that needs them.
- Choosing materials by lowest bid alone. The least-expensive option in any kitchen backsplash category is almost never the best long-term value. We will explain the price-vs-lifespan curve for every material we recommend.
- Hiring separate trades and managing the schedule yourself. Homeowner-coordinated remodels routinely run 2–3× over budget and timeline. The single-source design-build model exists because juggling six trades is a full-time job.
- Treating warranty as a sales feature, not a real obligation. Our 1-year installation warranty is documented in the contract and we honor it. Fewer than 5% of our projects ever generate a warranty call — the rare ones we do get are addressed within 5 business days.
Working with Us — What to Expect from First Call to Final Walkthrough
- First call (15 minutes). We discuss your kitchen backsplash goals, timeline, and rough budget, then schedule a free in-home consultation.
- In-home consultation (60–90 minutes). The project manager visits your home, measures the existing space, photographs conditions, and listens to what you actually want from the finished kitchen backsplash.
- Design and quote (3–7 business days). We deliver a written scope, layout (where applicable), material recommendations, line-item budget, and timeline.
- Contract and design refinement. We refine the scope based on your feedback. Material selections finalized. Contract signed.
- Permit and procurement (2–8 weeks). We pull permits in parallel with ordering long-lead-time materials.
- Construction start. Pre-start meeting on day 1 to walk the site, set expectations, and review the daily-update protocol.
- Daily progress updates. Photos and a status note from your project manager every working day.
- Pre-final walk. You walk the project with your project manager 2–3 days before completion to identify any final items.
- Final walkthrough. Punch list resolved, you sign off, final balance due. Warranty documents handed off.
- Post-completion follow-up. 30-day check-in call. 90-day in-home walk-through if requested. 1-year warranty phone call.
For more on our company, philosophy, and history, visit our About page. To explore the full range of kitchen remodeling services we offer, see the parent Kitchen Remodeling page. Reviews from real Sacramento clients are published on our Reviews page along with video testimonials.
Start Your Backsplash Project
Schedule a free in-home consultation or call (916) 677-9774. We will measure your kitchen, look at your existing or planned countertops, and walk you through pattern and material options.